-
21 Amazing Toe Nail To Choose In 2019
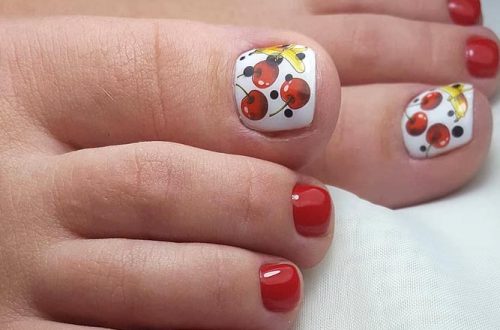
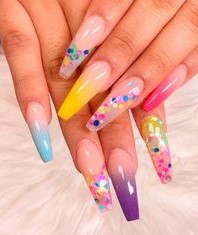
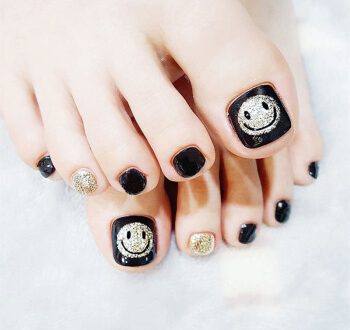
Keeping your toes freshly polished is a must for flip flop season! This is why we found 21 of the best polished toes for 2019. Hopefully these will inspire you to get your toes on point for the warmer months this year. If you are going to be wearing open toed wedges, sandals, flip flops or even high heels, your toe nails need to shine. Why not get that pedicure you are craving? The more colorful the better but below we have a nice variety of different nail art to get inspired by. We hope you enjoy our top picks for best polished toes!
-
Early spring nail art picture 2019 style fashion
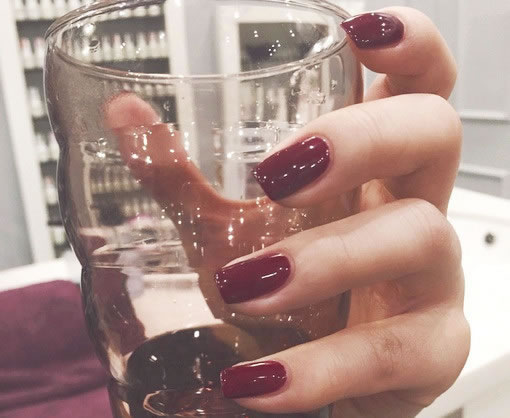
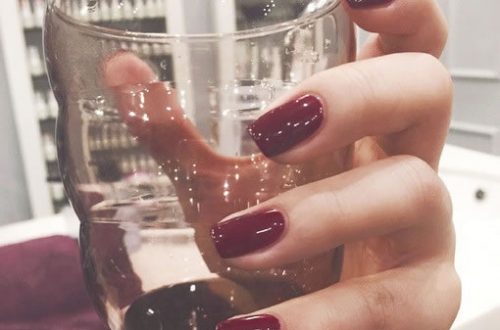
The red monochrome manicure is really amazing, the color is bright enough and it can be easily absorbed, and the fashion atmosphere is also applied to the skin. A stylish manicure that feels like the Milky Way. This color is cool and stylish, so you can see how it looks. It’s not bad to have a red manicure. The color of the fashion can also improve the eye-catching index. It’s good to add a careful machine design. Red gradient color nails do you like it? Manicure people think this nail is still quite fashionable, very interesting, and it is especially good on the hand. Black manicure is actually a more…
-
Latest glass nail art pictures
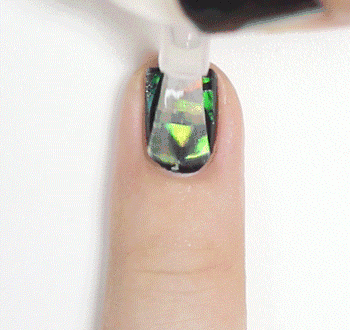
Glass nail gif dynamic tutorial step diagram Step 1: Prepare the required nail glue and tools, trim the nails and polish the nail surface, brush the primer, and illuminate for 60 seconds. Step 2: Apply a black background to the nail surface evenly for 60 seconds. Step 3: Cut the cellophane into small pieces for later use. The fourth step: a layer of sealing on the surface of the nail, not lighting. Step 5: Stick the cellophane just cut to the nail surface. The sixth step: Finally, a layer of sealing on the surface of the nail, the light can be 60 seconds. Step 1: Prepare the required nail glue…
-
Self-learning starry manicure tutorial step diagram
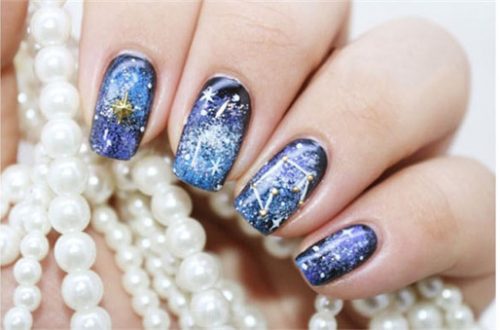
Today, I teach you a hand-painted fantasy starry manicure, very good-looking, not difficult, at home, you can learn the star map tutorial. Prepare the required nail glue and tools, trim the nails and polish the nail surface, brush the primer, and illuminate for 60 seconds. Apply a dark blue background to the nail surface evenly for 60 seconds. For the full color, apply it again, and illuminate for 60 seconds. Step 2: Use a fine sponge and purple nail polish to tap on the trailing edge of the middle finger, as shown in the picture, for 60 seconds. Step 3: Use a fine sponge and blue nail polish to tap…
-
High-end custom banquet nail art tutorial
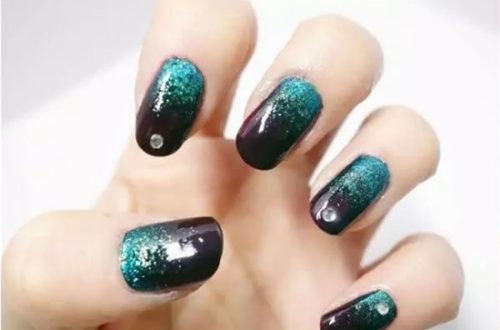
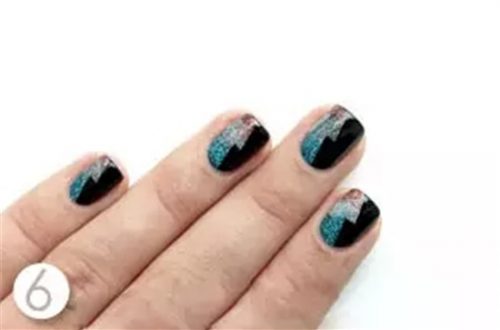
High-end custom banquet nail tutorial Step 1: Prepare the required nail glue and tools, trim the nails and polish the nail surface, brush the primer, and illuminate for 60 seconds. Apply a burgundy color to the face evenly and illuminate for 60 seconds. It is recommended to apply two layers to make the color more full. Step 2: Apply a blue-green nail polish with a sequin on the sponge, then wipe the sponge back and forth at the end of the nail and print the blue-green nail polish on the lower half of the nail. Step 3: Repeat the same steps for the remaining nails and remove the excess nail…
-
Pearlescent French Manicure Tutorial
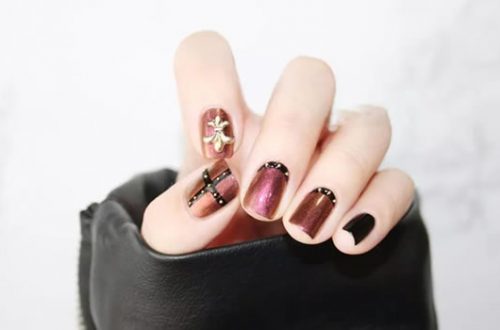
Pearlescent French Manicure Course Step 1: Prepare the required nail polish and tools, apply the primer and illuminate for 60 seconds. The second step: the whole brush mountain rust red pearl nail polish and black nail polish, to be dry, in order to make the color more full, brush again, and light for 60 seconds. The third step: draw the edging method on the trailing edge of the middle finger and the ring finger with a hook line pen and black nail polish, and illuminate for 60 seconds, as shown in the figure. The fourth step: draw a stripe on the thumb with a hook line pen and black nail…
-
Shiny Dark Nail Steps Tutorial
Today, I teach you a shiny dark manicure tutorial, black nails show more temperament, but I still want blingbling nail art how to do? That is half shiny, half dark, low-key luxury, very nice, let’s take a look at it. Step 1: Prepare the required nail glue and tools, trim the nails and polish the nail surface, brush the primer, and illuminate for 60 seconds. Apply a pink background to the nail surface evenly for 60 seconds. For the full color, apply it again, and illuminate for 60 seconds. Step 2: Take 10 lightning-like stickers of the same shape. If not, you can cut them into parallelograms with straight strips,…
-
Black and white French manicure tutorial step picture
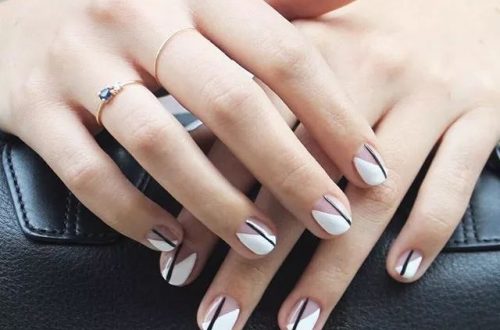
Black and white French manicure tutorial step picture Step 1: Prepare the required nail glue and tools, trim the nails and polish the nail surface, brush the primer, and illuminate for 60 seconds. The second step: draw a black color block on the left side of the leading edge of the index finger with a hook line pen and black nail polish, and illuminate for 60 seconds. Then lick the silver pearl polish to draw a good block on the right side, and illuminate for 60 seconds. For the full color, apply it again, and illuminate for 60 seconds. Step 3: Draw the other fingers in the same way. Step…
-
The latest good-looking solid color matte nail art picture
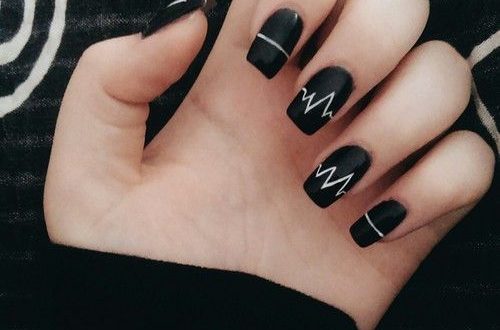
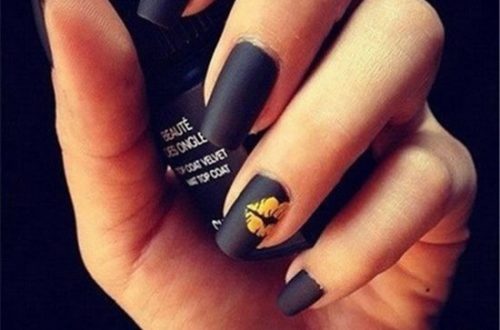
How to do solid color matte nails? The textured frosted manicure is neither as bright as the normal nail polish, nor as gorgeous as the carved flower, the color is gray and matte, very beautiful, the frosted manicure gives a high-quality texture, the glossy nail art Change to a matte surface and you will find a new world. Let’s take a look! This manicure is a black matte face with silver stripes, very simple and stylish, is a European style, very suitable for people who are more trendy.
-
Gorgeous Tuxedo Black French Manicure Tutorial
Black French Manicure Tutorial Step 1: Prepare the required nail glue and tools, trim the nails and polish the nail surface, brush the primer, and illuminate for 60 seconds. Use the hook line pen and the black nail polish to make a love law, and light for 60 seconds. Step 2: Take gold and silver pearl polish to reconcile. The third step: draw the outline of the French color block with the pearly nail polish blended with the hook line pen, without using it. In the thumb and no Step 1: prepare the required nail glue and tools, trim the nails and polish the nail surface, brush the primer, and…
